| |
 |
Test Instrument Control Tidbits By: Bertrand Zauhar,
VE2ZAZ
On this page,
I gather the various tricks, ideas and
pieces of software code I have come up with
to easily control test instruments remotely.
The software source code on this page is published under the GNU GPLv3 license. Please refer to the following web site for more detail on the licence agreement: http://www.gnu.org/licenses/gpl-3.0.html
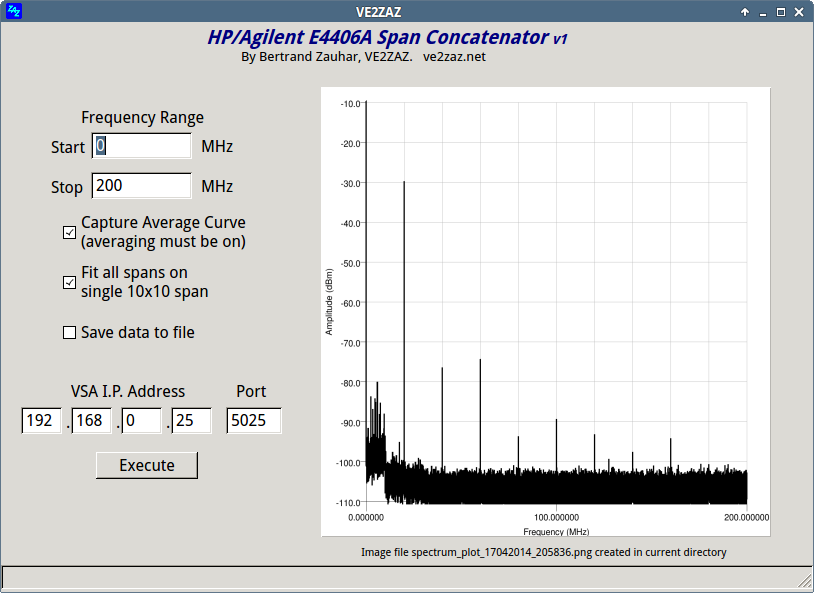
Python is a very easy to learn, multi-platform, free-to-use programming language. It is especially suitable for Linux platform programming. It became obvious that it would be the right programming language for instrument control when I decided to migrate from Windows to Linux. When paired with QT4 Designer-produced user interface windows, it makes a very flexible, powerful and portable toolset for controlling test instrument remotely (GPIB, Ethernet or Serial). The following is a series of scripts I want to share for the benefit of other test instrument amateurs. By no mean do I want to show these as examples of good programming practices. Still, they may be helpful to get started in test instrument control. HP/Agilent E4406A Span Concatenator The HP / Agilent E4406A VSA Transmitter Tester is a very versatile spectrum analyzer. That unit has one major limitation, in that it only works on spans of no more than 10 MHz. To make up for that drawback, I have developed a Python 2.7 script that automates the capture and control for wider spans. The script concatenates a series of 10 MHz spans that cover the range specified by the user. Even a 0 Hz - 4 GHz range can be specified; this will concatenate 400 10 MHz spans. The script saves the final span plot in .PNG format, and raw data can also be saved in a text file for further analysis. Access and control is done via the Ethernet port. The speed at which the concatenation occurs is surprisingly fast. Doing a full 0-4 GHz 400-span capture takes less than 90 seconds. The script does not alter any settings the user may have set into the instrument. All it does is change the center frequency and span values in order to capture the required span plots. In other words, the user first sets the instrument to his liking (resolution bandwidth, reference value, averaging, scale/division, ...), and then executes the script. So for example, it the user elects to capture the average plot, but averaging is not enabled in the instrument, the output will be erroneous. The various values entered in the script window are saved and recovered the next time the script is launched. The script uses the PyQt4 python library and a Qt4 Designer window design. For plotting, it uses PyChart, a charting python library, which in turn needs ghostscript for .PNG rendering. I have proven the script on both Linux Ubuntu and Windows (2000 and XP). I have every reason to believe that the script will work on all versions of Windows, as well as on the Macintosh platform. In order to execute the E4406A Span Concatenator script, you need the following setup: For Linux Users
For Windows Users On Windows, the installation is a little bit more complex.
VirtualBox (Windows guest) to Linux (Host) GPIB PCI card Bridge This came as an obvious requirement when I migrated from Windows 2000 to Linux. I realized that all the VIs (virtual instruments) I had developed in NI Labview 6i that used my GPIB PCI card would become useless under Linux. I discovered Oracle's Virtual Box software, which allows to run another operating system in a window within Linux. This wonderful piece of free software allows, for example, to run Windows as a guest OS while within Linux (Xubuntu 12.04 LTS in my case). In the guest OS, you can share the USB ports, the serial ports, disk drives and have network connectivity with the host PC's Linux OS. Unfortunately, you cannot install Windows drivers to support a specialized PCI card such as a GPIB card. This is where my piece of Python code comes in handy. This script bridges one of the Windows VirtualBox (guest-defined) COM ports to a Linux's (host-defined) GPIB PCI card. As an example, this would make Labview (running in a Windows VirtualBox) able to use a GPIB card located in a Linux host PC via a Windows COM port. This script will be running endlessly in Linux once launched from an X-terminal. The X-terminal window can display I/O activity for troubleshooting purpose. To use the bridge, you send ASCII string commands to the Windows COM port and read back the results from the same COM port. The Python script runs on the Linux host. It performs the command translation and sends the commands to the GPIB PCI card, reads back the data from the GPIB card and sends the data back to the Windows COM port. Examples of COM port commands and read backs would be:
A list of available commands and their syntax is included in the Python script file. The following are prerequisites to using this Python script.
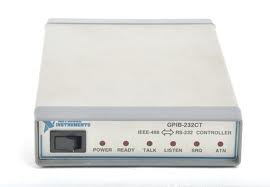
National Instruments GPIB-232CT Support in Python
Here
is an example Python
script that uses the
above header file.
It is used to
interface to a
Hewlett-Packard
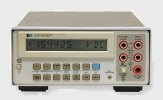
3478A Digital
Multimeter. A
QT4-Designer window
(not provided)
invokes this script.
The following is a series of Labview Virtual Instrument files (called VI's) I developed over the years to remotely control various instruments I have own. These were developed in Labview version 6i and under Windows 2000. I want to share these for the benefit of other test instrument amateurs. By no mean do I want to show these as examples of good programming practices. Still, they may be helpful to get started in test instrument control.
|


